wsl2使用主机代理之panda vpn
302 words
One minute
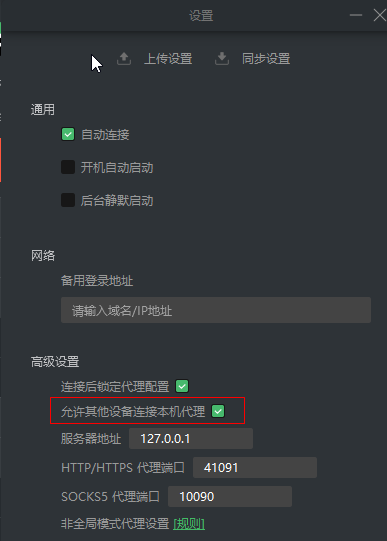
网上好多都是使用clash的的教程,设置vpn部分,panda点个✔就行

 1
 2
 3
 4
 5
 6
 7
 8
 9
10
11
12
13
14
15
16
17
18
19
20
21
22
23
24
25
26
27
28
29
30
31
32
33
34
35
36
37
38
39
40
41
42
43
| #!/bin/sh
hostip=$(cat /etc/resolv.conf | grep nameserver | awk '{ print $2 }')
wslip=$(hostname -I | awk '{print $1}')
port=41091
PROXY_HTTP="http://${hostip}:${port}"
set_proxy(){
export http_proxy="${PROXY_HTTP}"
export HTTP_PROXY="${PROXY_HTTP}"
export https_proxy="${PROXY_HTTP}"
export HTTPS_proxy="${PROXY_HTTP}"
echo "http proxy success!"
}
unset_proxy(){
unset http_proxy
unset HTTP_PROXY
unset https_proxy
unset HTTPS_PROXY
}
test_setting(){
echo "Host ip:" ${hostip}
echo "WSL ip:" ${wslip}
echo "Current proxy:" $https_proxy
}
if [ "$1" = "set" ]
then
set_proxy
elif [ "$1" = "unset" ]
then
unset_proxy
elif [ "$1" = "test" ]
then
test_setting
else
echo "Unsupported arguments."
fi
|
1
| -> % source ~/proxy.sh set
|
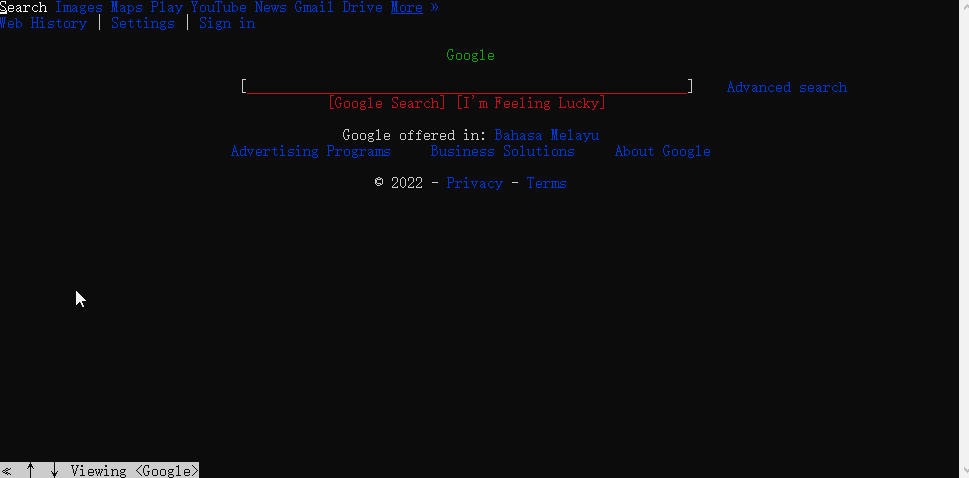
出现下图则成功

追加下面代码
1
2
3
4
5
6
7
8
| startProxy(){
export https_proxy="http://127.0.0.1:41091";
export http_proxy="http://127.0.0.1:41091";
}
stopProxy(){
unset https_proxy;
unset http_proxy;
}
|
1
2
3
| source ~/.zshrc
# 开启代理
startProxy
|
1
2
3
4
| sudo apt install tcptraceroute
sudo wget http://www.vdberg.org/~richard/tcpping -O /usr/bin/tcping
sudo chmod +x /usr/bin/tcping
tcping 目标IP 目标端口
|


预览: